Search and Destroy in Modern Warfare 4 gives every opening decision more weight because players don’t respawn during the round. Learning the first engagements, controlling important lanes, and using equipment with a clear purpose can make your attacks and defensive holds much more consistent. A practice environment can also help you repeat routes and pre-aim positions before testing them against human opponents.
Learn Each Map Through Search and Destroy Routes
Start with the basic geography of each map before trying to memorize specific plays. The current MW4 Beta Core 6v6 map pool includes Cachette, Lithium, Lotus, Rooftops, Silkworm, and Transit 213, and the useful routes can differ significantly from one map to another.
Instead of learning the entire map at once, break each Search and Destroy round into three areas: the opening lane, the route toward the bomb site, and the positions used after the bomb is planted.
Map study checklist
| Area | What to learn |
| Opening | Fastest safe route away from spawn |
| Mid-map | Main connection and exposed sightlines |
| Bomb sites | Entrances, cover, and defensive positions |
| Rotation | Route between the two sites |
| Post-plant | Positions that can watch the bomb |
Spend a few practice rounds simply moving between these areas. Once you know where an opponent can appear, pre-aiming and utility usage become much easier to practice.
Make the First 15 Seconds About Information
The opening fight should have a purpose. You might challenge an angle because you have cover, hold a lane to detect an enemy push, or use equipment to remove a sightline before your team crosses.
A simple opening routine keeps the round from becoming an uncontrolled sprint:
- Leave spawn using the route selected before the round starts.
- Stop at the first useful piece of cover.
- Check the most likely enemy position with your crosshair already at head height.
- Decide whether the information justifies a gunfight.
- Tell teammates where you have seen or heard an opponent.
- Rotate if the current lane is too heavily defended.
Getting the first elimination is valuable, but forcing the fight isn’t always necessary. If the opponent gives you information without exposing themselves, your team can use that information to attack somewhere else.
Practice Smoke Throws by Purpose
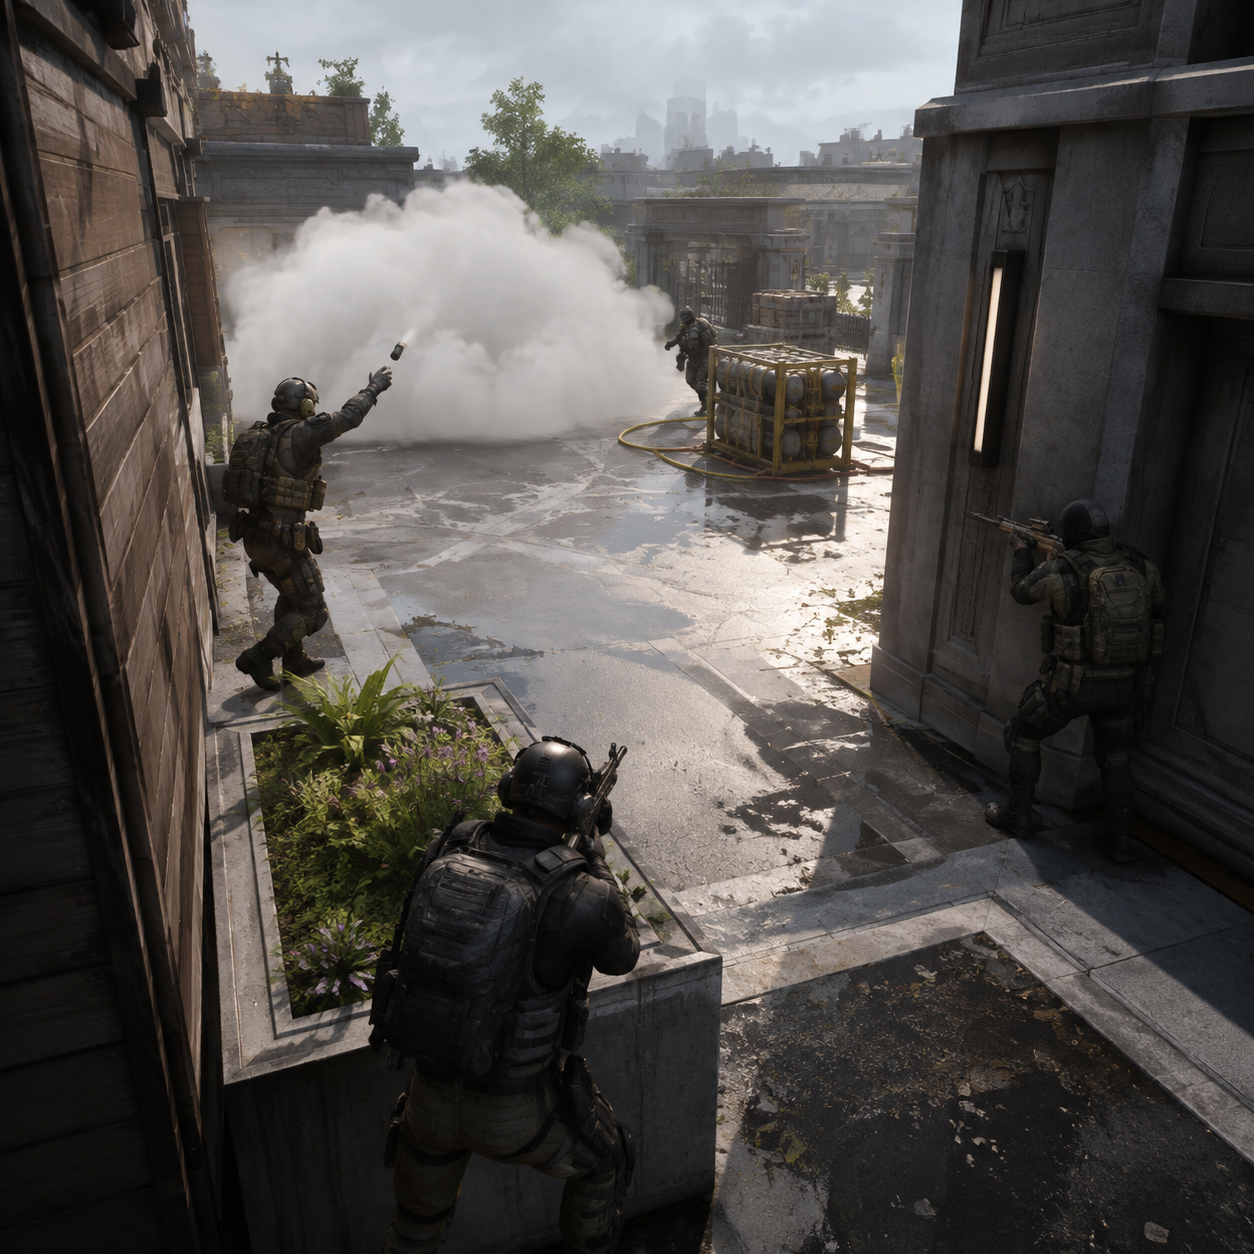
Smoke should help you complete a specific action. Throwing it without considering what your team needs can remove your own vision without actually solving the problem.
The current MW4 Beta includes Smoke Grenades, and smoke can be particularly useful on maps where an exposed lane connects important areas.
Three smoke situations to rehearse
Crossing an exposed lane
Place the smoke between your team and the enemy’s strongest sightline. Your objective is to create enough visual cover to reach the next piece of protection.
Entering a bomb site
Use smoke to reduce the number of angles watching the entrance you intend to use. Keep another route available in case defenders push through the smoke.
Protecting a plant
Throw the smoke where it interferes with the defender’s view of the bomb rather than directly on top of your teammate. This can preserve more useful vision for the rest of the team.
Build Pre-Aim Positions Into Your Route
Don’t practice pre-aiming as a completely separate exercise. Connect every crosshair position to a specific corner or doorway.
Choose one route and repeat it until you can identify the next threat before reaching it. Your reticle should already be close to the expected head position when you expose yourself.
Pre-aim drill
| Checkpoint | Practice objective |
| First corner | Hold the most likely opening angle |
| Main lane | Keep the reticle ready for a head-level target |
| Site entrance | Clear the first defensive position |
| Bomb area | Check common close-range angles |
| Post-plant | Hold an approach without exposing too much |
The Firing Range and Gunsmith can also be used to become familiar with weapon handling before entering live Multiplayer matches. Once your aim feels consistent, spend more time practicing the actual Search and Destroy route.
Add Wallbangs Only Where They Make Sense
Wallbangs are most useful when you already know an enemy is likely to occupy the other side of the surface. Don’t spend ammunition randomly shooting through walls simply because the material appears thin.
Practice penetration spots around positions that repeatedly matter during Search and Destroy rounds. If a defender frequently holds behind cover near a site entrance, test whether the surface can be penetrated effectively with your chosen weapon.
MW4 also gives players the Drill Charge, which can burrow through suitable surfaces and pressure enemies who rely heavily on cover.
Before using a wallbang in a match
- Confirm the surface can be penetrated.
- Check the angle from which you need to fire.
- Make sure the target position is actually common.
- Test whether the damage remains useful with your weapon.
- Avoid staying exposed while repeatedly firing.
- Stop once the enemy has moved.
The August 28 MW4 Beta update included weapon tuning, so avoid building your entire strategy around fixed damage assumptions that may change during the Beta.
Attack and Defense Require Different Decisions
Search and Destroy becomes easier when your team understands which side has the advantage in a particular situation.
When Attacking
Keep the bomb carrier out of unnecessary opening fights. Use your first engagement to identify defensive positions, then decide whether the original site remains the best target.
If your team gets an early elimination, spread your pressure rather than allowing the defenders to isolate the remaining attackers. After planting, choose positions that make the retake uncomfortable without giving the defenders easy one-on-one fights.
When Defending
Your first responsibility is to gather information without giving the attackers a free elimination. Hold useful positions, watch important routes, and be ready to rotate when the bomb carrier commits to a site.
If your team gains the numbers advantage, avoid chasing kills across the map. Make the attackers spend their remaining time clearing positions and force them to expose themselves when they attempt the plant.
Turn Practice Into a Repeatable Routine
A Bot Lobby MW4 setup can be used to repeat movement and aiming drills when you want a controlled environment. Focus on reproducing the same route and decisions rather than simply increasing your elimination count.
Use this routine whenever you learn a new Search and Destroy map:
Practice Session
First: Run both routes from spawn to each bomb site.
Second: Repeat the routes while checking the same pre-aim positions.
Third: Practice the smoke throws required for the exposed sections.
Fourth: Test useful wallbang and Drill Charge interactions.
Fifth: Rehearse one attacking plant and one defensive hold.
Sixth: Play live Search and Destroy and identify which positions actually produce engagements.
Seventh: Return to practice and change only the routes or angles that caused problems.
Finish Each Session With One Adjustment
Don’t try to rebuild your entire Search and Destroy strategy after every match. Pick one recurring problem and correct it during the next practice session.
A cheap Bot Lobby MW4 option may appeal to players who want a controlled practice environment, but the same training objective can be achieved by repeating legitimate practice and Multiplayer sessions. Keep your focus on route timing, crosshair placement, equipment usage, and post-plant positioning, then take those habits into real Search and Destroy rounds.
After each session, keep the improvements that consistently help you reach the bomb site or survive the opening engagement. Once those movements become automatic, spend your practice time learning the next map rather than repeatedly drilling positions you already know.