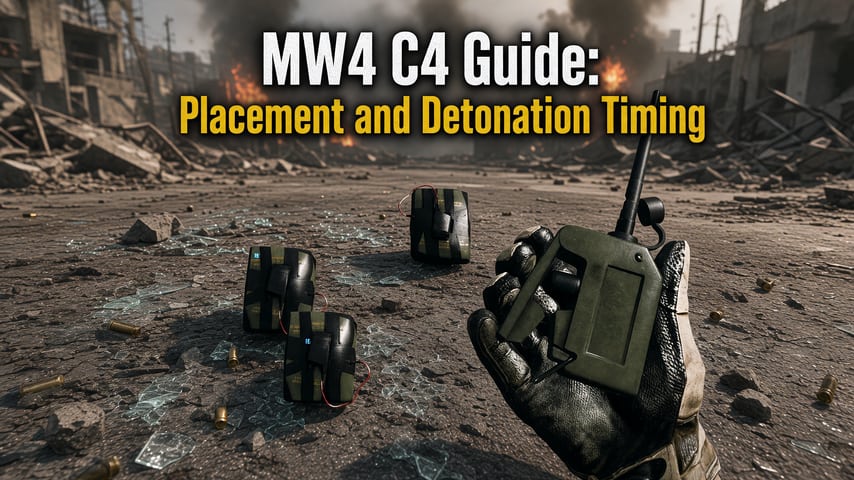
Place C4 beside a route enemies already use, then pick a landmark close to where the charge lands. Detonate when an opponent reaches that landmark. In Modern Warfare 4 Multiplayer, C4 unlocks at Player Level 43, occupies the Lethal slot, sticks to surfaces, and detonates remotely. A doorway can be a good timing cue if the charge is right beside it. If your throw lands deeper in the room, pick a cue farther inside.
If you’re using an MW4 Bot Lobby to practice, start with a throw you can repeat from cover. Use the same starting position and aim point for several attempts. Once the charge consistently lands on the intended surface, keep the throw fixed and adjust when you detonate. That makes it easier to tell a placement error from a late trigger.
Check Your Angle Before You Throw
A good C4 setup includes a landing spot, a way to confirm the push, and a position you can fight from after the blast. Check those three things before committing to a spot.
• Watch where enemies end up. A busy doorway can lead to several different routes. If opponents usually clear the doorway and turn toward cover, set up near the turn they actually take.
• Use the charge’s actual landing spot. If it sticks farther inside than planned, update your timing cue. Triggering at the doorway out of habit can waste the setup.
• Keep a follow-up angle. Pick a position that lets you cover a likely exit or re-peek after the blast. If an opponent pushes your position before reaching the charge, take the gunfight.
Hardpoint and Domination Setups
Hardpoint Defense and Retakes
When your team holds the hill, look for the entrance nobody is watching. If a teammate already has the main doorway, cover a side approach and call out your placement. When the fight shifts to the next hill, rotate with your team. Staying behind for one more detonation can cost you a chance to help secure the new point.
On a retake, work off a defender’s last confirmed position. If a teammate spots an enemy tucked near the hill, place C4 where it can reach that position and time the blast just before your team pushes. If the defender moves while you’re setting up, update the callout and clear their new angle with your weapon. The throw has done its job if it gives your team an opening to take the point.
Domination Flag Defense
When defending a flag, watch how attackers approach it over successive pushes. If they keep taking the same turn before entering the capture area, that’s a better place to start than the flag itself. You can watch the approach while a teammate holds the objective.
When the flag starts flipping, check your lane. If it’s empty, an attacker may already be on the point or may have come in from another side. Keep the charge for the route it covers and turn your attention to the capture area. If your team loses the flag, watch where defenders challenge the retake before committing your next throw.
Two Map Spots to Practice
Silkworm: Convenience Store
Use a store entrance to practice judging how far an opponent has moved into the room. Pick a spot where you can see both the doorway and an interior reference point. When an enemy shoulder-peeks the entrance, watch whether they pull back or commit. If your charge is deeper in the store, the interior reference gives you a clearer trigger than the first glimpse of a player at the door.
Transit 213: Central Bus Lot
Use the end of a bus to compare two paths through the same lane. One player may round the bus tightly, while another may swing wide into the lot. Watch which path keeps taking opponents away from your placement. Move the charge toward that path on the next attempt and keep your viewing position fixed. This is a placement drill. Changing the timing alone won’t fix a route that bypasses the charge.
When to Detonate and When to Hold
Footsteps give you a direction to check. A sightline or a teammate’s specific callout gives you a position to act on. Against a sprinting player, trigger as they reach the charge. If the lead attacker pauses nearby and a second player is already closing the gap, a short delay may catch both. If the first player starts moving again, take the opening while you have it.
During a coordinated retake, tell your teammate where the blast will land and which angle you’re holding afterward. If the enemy survives and backs away from the charge, your teammate can cover the push while you watch the exit. Against Bomb Squad, which reduces damage from non-Killstreak explosives, call out the hit and be ready to finish with your weapon. The Season 1 Damage Recap can display damage reduction from the perk when that information is available.
Fix the Miss You Actually Saw
| What happened | What to change on the next attempt |
| The charge stuck to the wrong surface. | Keep your starting position and change the aim point. Confirm the landing spot before testing timing again. |
| The attacker backed out after a shoulder peek. | Wait for them to commit past the doorway if your charge is farther inside. |
| The attacker ran past the charge before the blast. | Keep the throw and pick an earlier visible cue along the same route. |
| The attacker turned away before reaching the charge. | Move the placement toward the turn they took and choose a reference point there. |
| You landed a hit but lost the follow-up fight. | Change where you stand after the throw so you can cover the exit. Check the Damage Recap if it shows Bomb Squad reduction. |
A Three-Push Drill for Flag Defense
If your search for cheap Bot Lobby MW4 brings you to U4GM, check the match mode and host rules before booking. Choose Domination if you want to run this flag-defense drill, and confirm which objective and approach the host allows you to use.
On the first push, watch where the attacker turns toward the flag. On the second, place C4 near that turn and test your timing cue. On the third, change one thing. If the attacker stayed on the route and cleared the charge before the blast, keep the same throw and trigger earlier. If they turned away before reaching it, keep your viewing position and move the charge toward the new route.